
The shadertoy that goes with this post is at: https://www.shadertoy.com/view/WsfBDf
I talk about blue noise a lot more often than I show usage cases of blue noise. Ray marching fog is a great usage case of blue noise that I haven’t shared yet.
Make sure and click the images in this post and view them at their full size to best see the noise. Blue noise tends to melt in thumbnail images, due to the low pass filtering involved in making an image smaller.
Real quick before going into it, here are some other usage cases of blue noise with corresponding shadertoys.
- Stochastic Transparency – Useful for making gbuffer rendered objects have the appearance of semi transparency (like when fading out or fading in) without having to switch them to a forward pass. https://www.shadertoy.com/view/MdGfDz
- Dithering – Useful for hiding banding that comes from storing data in a lower bitcount. Useful for squeezing more data into fewer bits. https://www.shadertoy.com/view/4sKBWR
- Stochastic Blur – Useful for doing image filtering in fewer taps. https://www.shadertoy.com/view/XsVBDR
So here’s an algorithm for ray marching fog, which can give some simple scattering effects, like crepuscular lighting aka “god rays”.
- Render normally.
- Take N steps down the ray for the pixel starting from the camera, going to the depth value for the pixel.
- At each step, look in a shadow map to see if that world position is in shadow or not. Calculate the percentage of steps that were in shadow.
- Use this percentage to lerp between an “unlit fog color” and a “lit fog color”, use that as the fog color for that pixel.
- Use the usual distance fog calculations for that pixel.
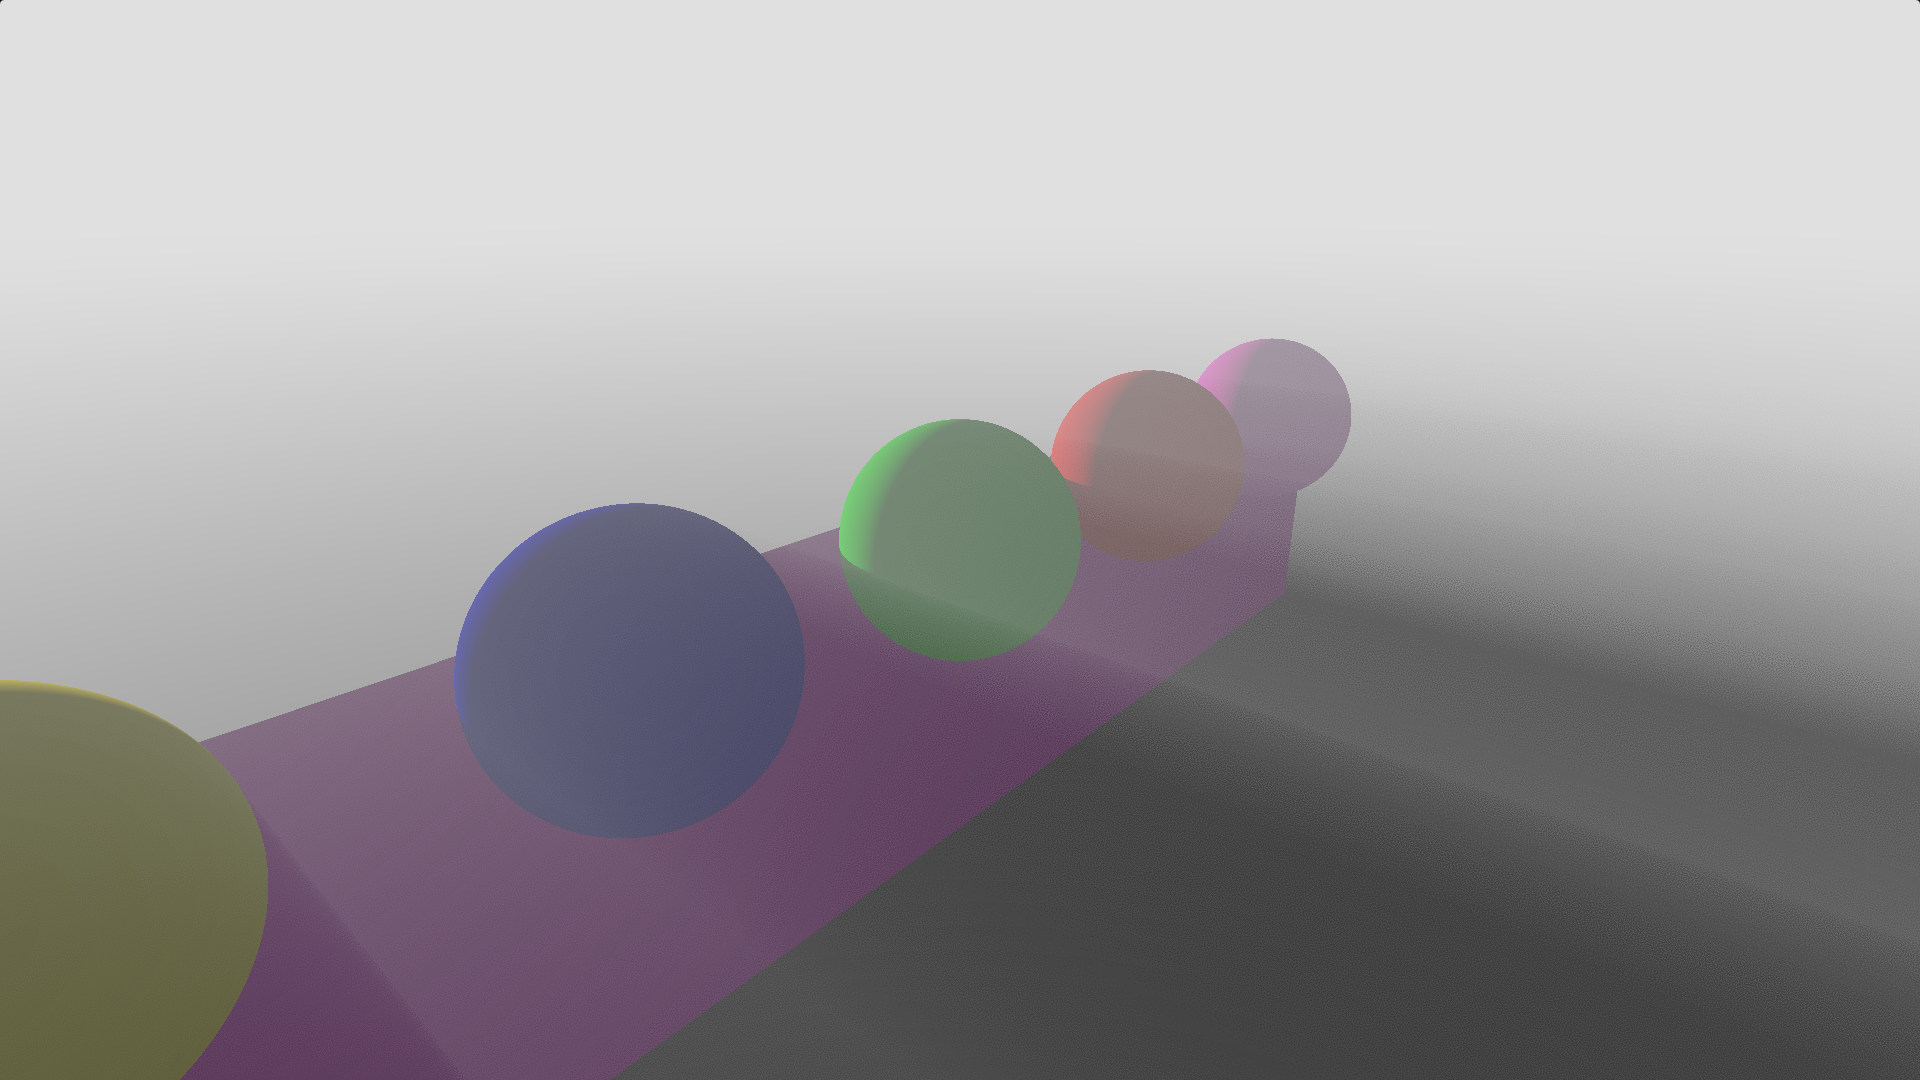
Here is an image of doing the algorithm above, doing 256 steps.

If you decrease the step count to 16, the algorithm gets a lot faster, but you get much worse results that look like this:
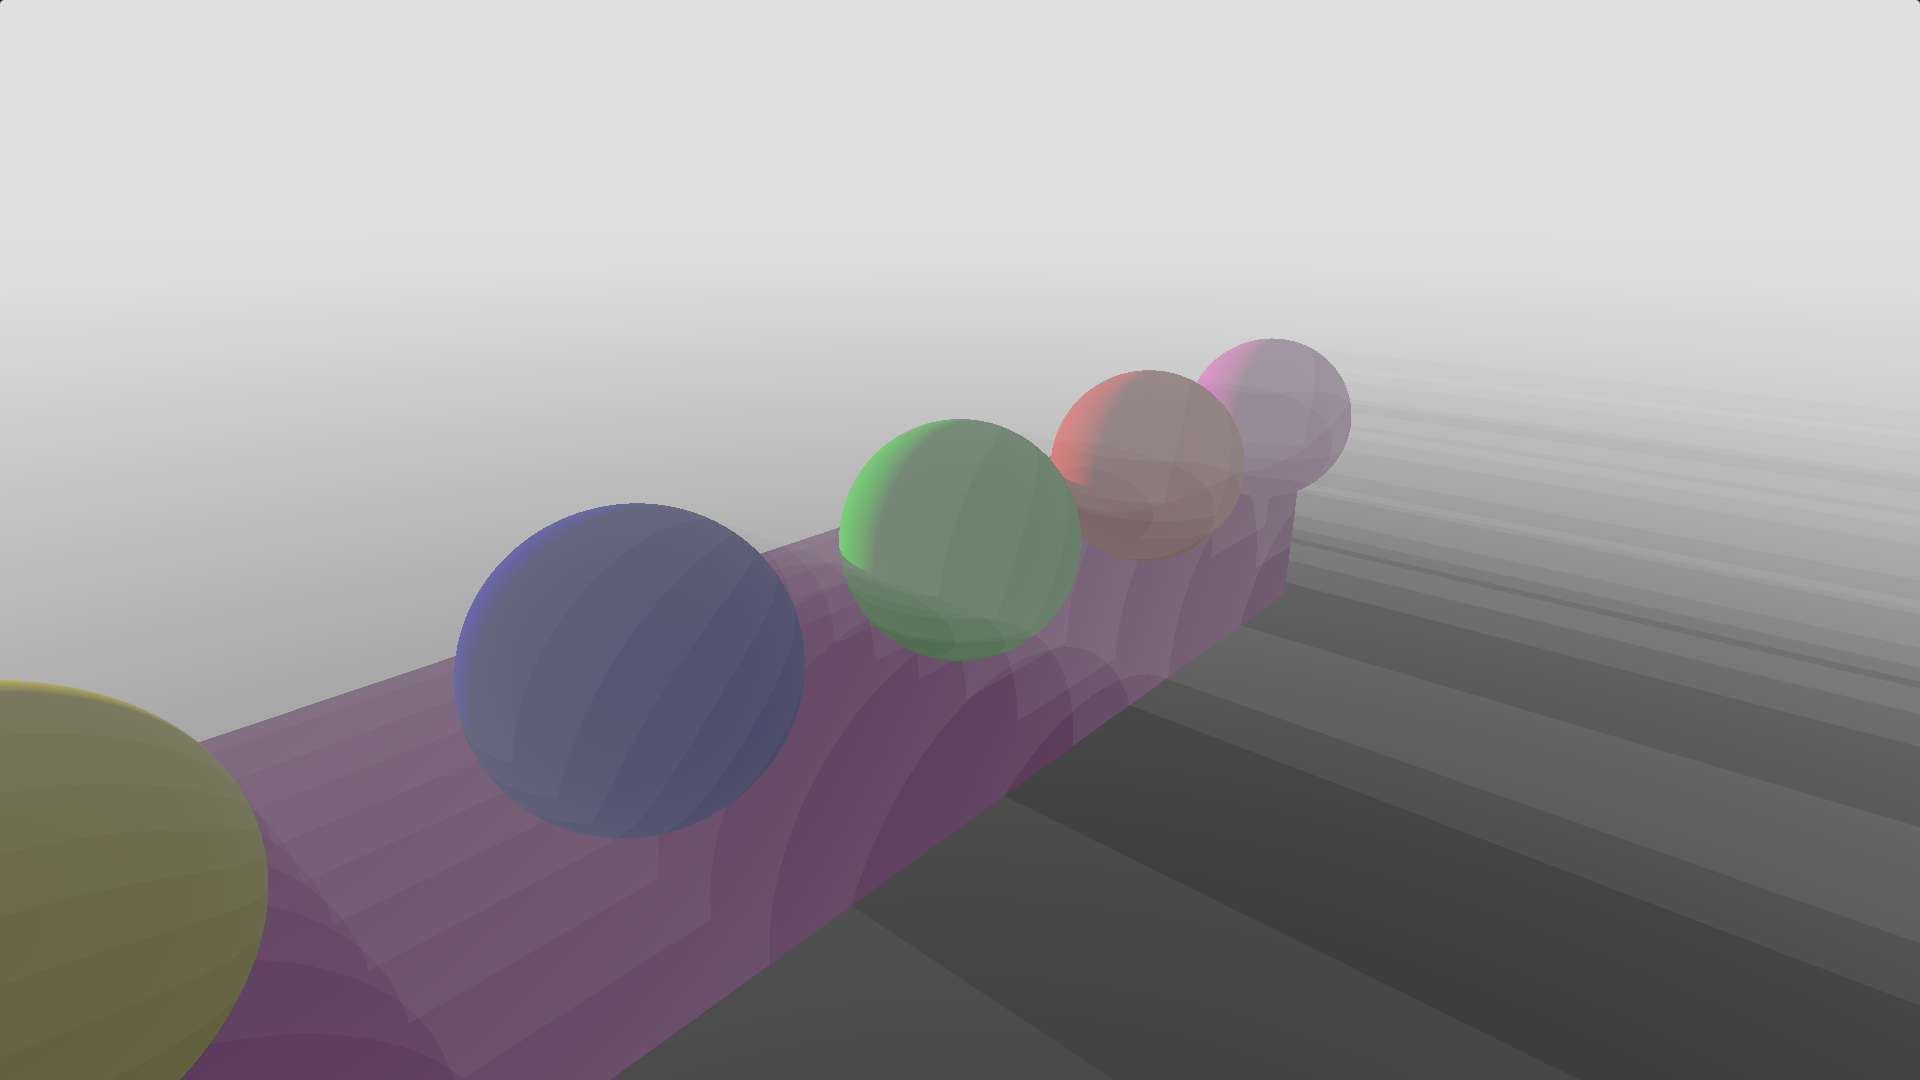
That looks real bad, but you can break up banding by using noise. When you do the ray marching, you can roll a random number (white noise) for each pixel, and use that 0 to 1 value as a percentage of “one step distance” to push the ray start down the ray. Doing that, you get this result.

That result is better than the banding, but is pretty ugly. Using a tiled screen space blue noise texture as a source of the random numbers instead gives you this result, which is lots better.
As a bonus, here’s a result using Jorge Jimenez’s “Interleaved Gradient Noise” which is designed to work best when used with TAA that uses the “3×3 neighborhood history rejection” method.

Other Notes
There is a shadertoy that shows all this at https://www.shadertoy.com/view/WsfBDf

The step count used in the ray march defines how many “shades” there are between the lit and unlit fog. For instance, 2 steps will only let the lit percentage be: 0%, 50%, 100%. That only gives 3 shades of fog. In the images above where 16 steps were used, it gives 17 different shades (it’s always numsteps+1). If you drop the count lower, the noise will have fewer shades and be more noticeable in all cases.
If you use PCF sampling of the shadow map (if doing this in a raster setup), the fog light shafts get softer edges, which can look real nice, if you want that look.
If this technique looks interesting to you, you should also give this a read, for making better fake fog: https://www.iquilezles.org/www/articles/fog/fog.htm
These still images tell only part of the story. If you animate the noise well over both space AND time, where a single frame has good noise patterns, but each pixel is also blue or low discrepancy over time, you’ll have even better results. The shadertoy has a define for animating the noise ANIMATE_NOISE that you can turn on and off to see the difference. The result is better RAW like the shadertoy shows it, but it’s also better under temporal filtering, because it makes the value temporally converge to something closer to the correct value with less flickering.
The blue noise is animated by adding the golden ratio * the frame number to the blue noise texture value and using fract to bring it back between 0 and 1. Repeatedly adding the golden ratio to any starting value, and fract’ing it, will make a progressive low discrepancy sequence, which is exactly what we want. Doing this process makes each pixel be low discrepancy over time while the blue noise texture makes the pixels be blue noise (randomized low discrepancy) over space. Unfortunately, this damages the blue noise over space a bit, but it is a net win.
Interleaved gradient noise in this shadertoy is animated by scrolling the texture on each axis by 5.588238 pixels each frame. This is a value Jorge Jimenez (the maker of IGN) found through much manual effort, to try and find a scroll amount that made pixels be low discrepancy sequences. He hasn’t published this information but said I was free to share it so long as I gave him credit. Thanks Jorge!
For more info on animating noise, check out these two posts of mine:
- https://blog.demofox.org/2017/10/31/animating-noise-for-integration-over-time/
- https://blog.demofox.org/2017/11/03/animating-noise-for-integration-over-time-2-uniform-over-time/
The sampling in this setup has four dimensions, but isn’t vanilla four dimensional. It uses blue noise for the 2 dimensions of screen space, it uses low discrepancy sampling for the dimension of time, but it uses regular spaced samples on the dimension of distance down the ray.
I believe there are at least a couple different better ways to sample this setup but I’m not 100% sure what they are, or what the ideal one would be.
The “regular spaced samples over distance” seem like something that would be nice to look at fixing, but it’s also possible that a triangular distributed blue noise could be better for the blue noise over space.
For another rabbit hole to go down, check out this very related presentation slide deck.
“Low Complexity, High Fidelity – INSIDE Rendering”
https://www.gdcvault.com/play/1023002/Low-Complexity-High-Fidelity-INSIDE
